
I love doing this. We all know that the only thing better than recycling is reusing, and I love this method. The box gets reused, and once it reaches its destination I can only hope the recipient will recycle it.
So here we go..
First you need to find a box. Cereal boxes are my favorite, although cracker boxes are good too. I've been saving almost every thin cardboard box that's around for making packaging.

I use a lot of these awesome Honey Bunches of Oats knock off boxes because that's what I'm digging right now. Anyway, the first thing I do is open the bottom flaps of the box. Then I cut up one corner. I cut up the one with the seem where the box was glued together to eliminate bulk when I'm sewing it.
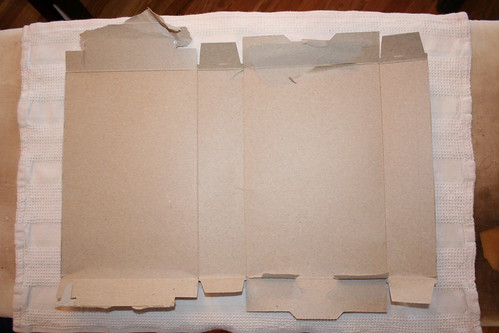
Now your box should look like this. Cut off all those flaps that used to keep the box closed.
That looks better, right?
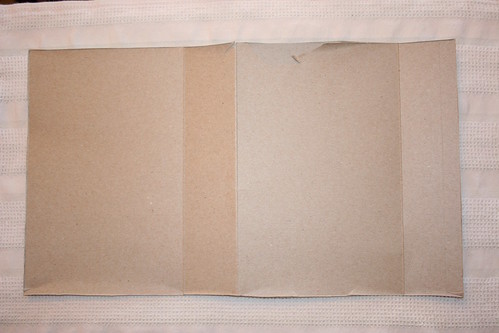
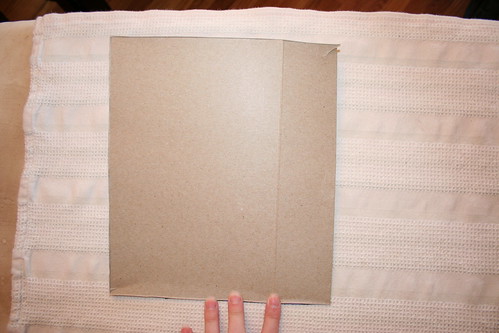
See that score line in the middle? Fold the box there printed sides together.
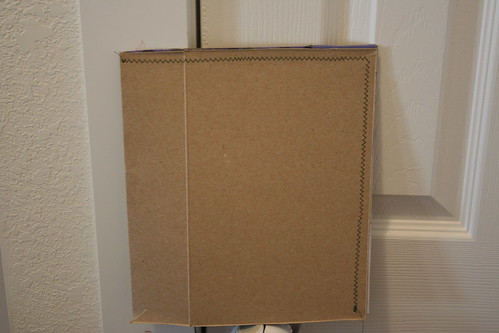
Ta-da! Now all you have to do is sew it! The folded side doesn't really need sewing, so I start on one side of the folded line and sew a zig zag stitch that closes two of the open sides. Make the stitch a bit long. If they are too short the holes perforate the cardboard, and it will tear.
Remember that paper and cardboard will dull the crap out of your sewing machine needle. I always keep a couple old, no good for sewing fabric needles in my pin cushion. Then I just pop one of those in for these bad boys. No use wasting a perfectly good needle unless the one in your machine is on its last legs.
Now you have this. At this point you can throw it in your pile of envelopes if you're not sending anything out today. Otherwise I like to first write addresses on it and then pop my item in it. Then I sew up that last side.
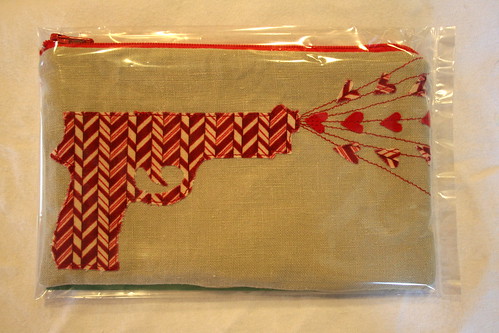
Item, ready to be cozy in its shipping vessel.
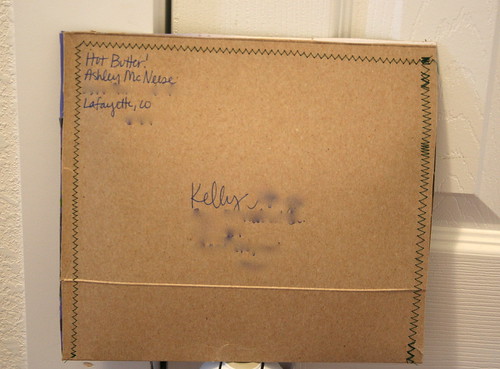
The glorious finished product. Addresses blurred out to protect the guilty. By guilty I mean my friend Kelly who is in Italy as we speak. Consider me jealous.
Now you just have to go to the post office. Maybe wear a shirt that says "this was not my good idea, please don't abduct me government!"
You can always do some awesome decorating to your box. See that box of crayons your toddler left out? You could grab some and draw something silly that makes you embarrassed about your art skills. Or maybe you have good art skills? If you do, don't be embarrassed. Either way, send it with pride!


7 comments:
You rock Ashley! Thanks for sharing!! I can't wait to try this out! Reusing ROCKS!
Thank you for sharing! I can't wait to try it out, too.
And a great way for continuing to use those machine needles that no longer are good for fabric.
Awesome tutorial! I'm still drooling over that gun pouch too. <3
That is the coolest thing ever. Now I just need a sewing machine. Thanks for the tutorial.
Any recommendations? My MIL offered to buy me one for my b-day 2 years ago and I haven't picked one up yet. I don't know what kind to get.
I love this idea! My kids eat the hell out of cereal, so we have lots of cereal boxes.
Brilliant, just brilliant. But clearly NOT YOUR IDEA (in case the government is reading this.)
Most excellent idea! I'll be doing this too.
Post a Comment